If you are low on patience, DON'T make this soup. If you are high on love...make it!
A great classic Soupe à l'onion takes time, and more patience than you might think. Getting the onions to the right caramelization point is a labour of love unto itself. For this process, about an hour is probably a good reference for the time frame. When you think they are ready, let them cook for another 5-10 minutes. Need to be dark brown with a dark fond (caramalized bottom of the pan) for the flavour bomb. The fond will melt into the liquid once added.
Slow and low on the glow...
My soup is based on Julia Child's original recipe, and that's what makes it so good!
With about 6 large onions, I like the big sweaty yellow ones. I am often tempted to use Vidalia onions, so gorgeous but almost too sweet for this soup. Cut the onions in half and slice thinly.
In a large heavy pot (or cast iron bottom type pot) saute the onions in a bit of olive oil. Start the heat on medium high to get things going and then bring it down to low for the rest of the cooking time. Add 1 smashed clove of garlic and a pinch of salt (no sugar please, onions sweet enough) to the pot, this helps with getting the dark brown caramel you need for a great soup. No burning allowed!!
Learned a trick: add a bit of water to the onions at the beginning and put a lid on the pot. Let them sweat down for a few minutes. Then remove the lid and continue. Somehow the steaming decreases the caramalization time...it works!
Once the onions are soft and dark toffee coloured, add a heaping tablespoon of flour and mix. Then add a couple of tablespoons of sherry and about 1.5 cups of white wine. This broth with look a bit creamy...a touch of worstershire sauce adds depth.
To this, add a combination of chicken and beef broth, about 4 litres of liquid total.
Add a few sprigs of fresh thyme and 1 bay leaf, and let simmer on low heat for a while.
To serve, you need oven proof bowls. Pour soup about 3/4 of the way, and then add crusty, day old or baguette bread
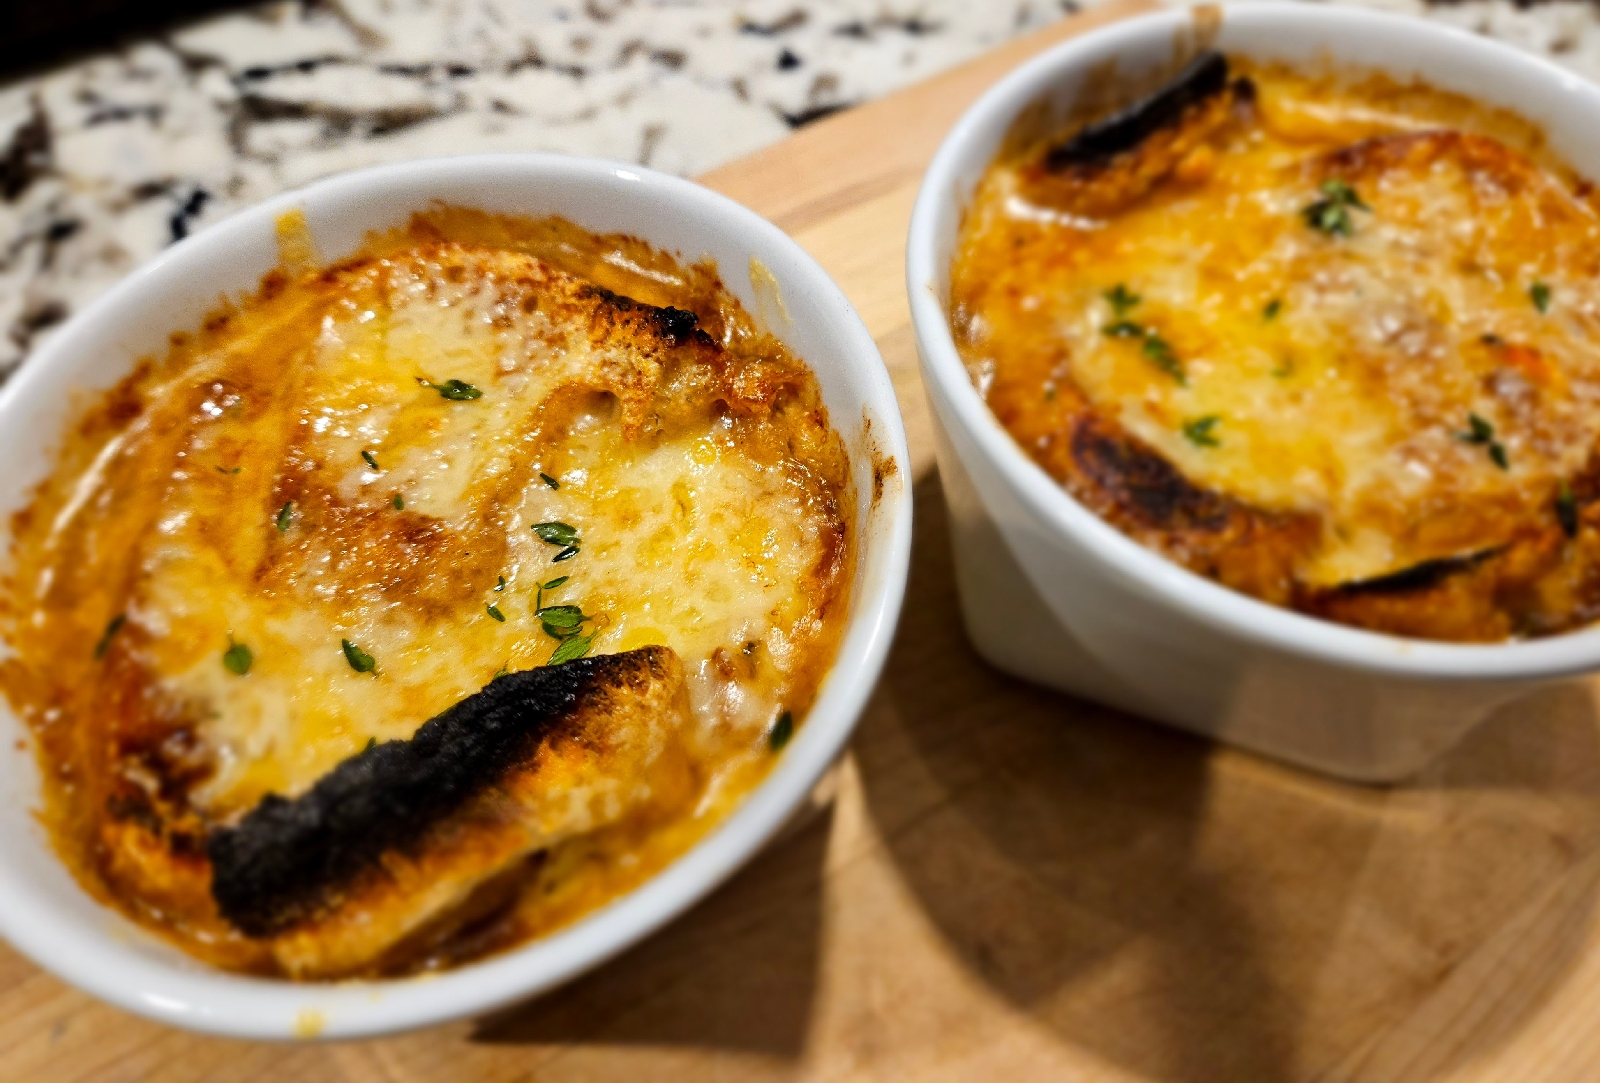
( broil it first if fresh so crispy.) Top with a combo of gruyere and strong, old cheddar cheese...LOTS!!
Place the bowls on a cookie sheet so easy to handle a few at a time. Broil for a few minutes to melt until golden, and serve.
Be careful not to burn your hands and mouth.... letting the soup cool for a few minutes is probably a good idea!!
C'est delicieux!
Place the bowls on a cookie sheet so easy to handle a few at a time. Broil for a few minutes to melt until golden, and serve.
Be careful not to burn your hands and mouth.... letting the soup cool for a few minutes is probably a good idea!!
C'est delicieux!


